The versatile popsicle stick

Whether you’re going on a vacation with grandchildren or having them over to your place, it’s good to be ready for days it’s too hot, cold, wet, or buggy to play outside. Thanks to an inspiration from one of our grandkids’ parents, here’s a versatile, inexpensive, lightweight, easily packed option: popsicle sticks!
You need more that just popsicle sticks, of course. The basic pieces of our kit were:
• 6” undyed popsicle sticks
• 4.5” dyed popsicle sticks
• 3” wooden clothespins (with kind with a metal coil)
• Wooden mini-clothespins
• Cellophane tape
• School glue
All of these are easily sourced at your local craft store, big box store, or online, so I won’t provide links. The kit can be varied endlessly for more complexity or decoration. For example, our grandchildren included embroidery thread in some creations; in others they used items saved from the trash or recycling bins. More elaborate structures might need a glue gun and a cutting tool.
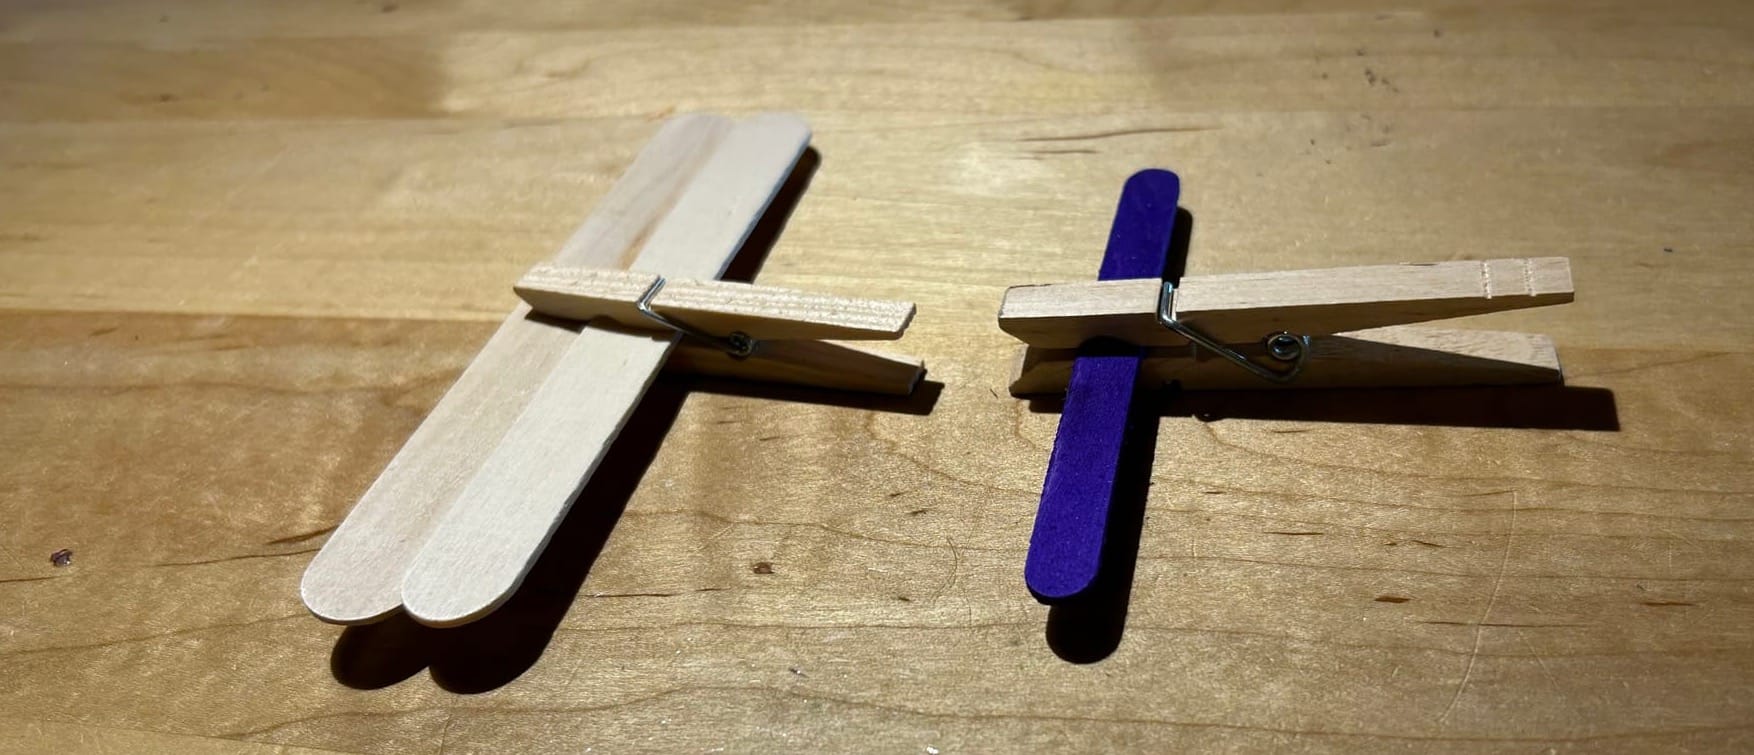
The wonderful thing about simple materials is they lend themselves to applying your own ideas and skills. The kids with less manual dexterity used a lot of imagination but simple crafts, like airplanes created by clamping a popsicle stick or two with a clothespin.
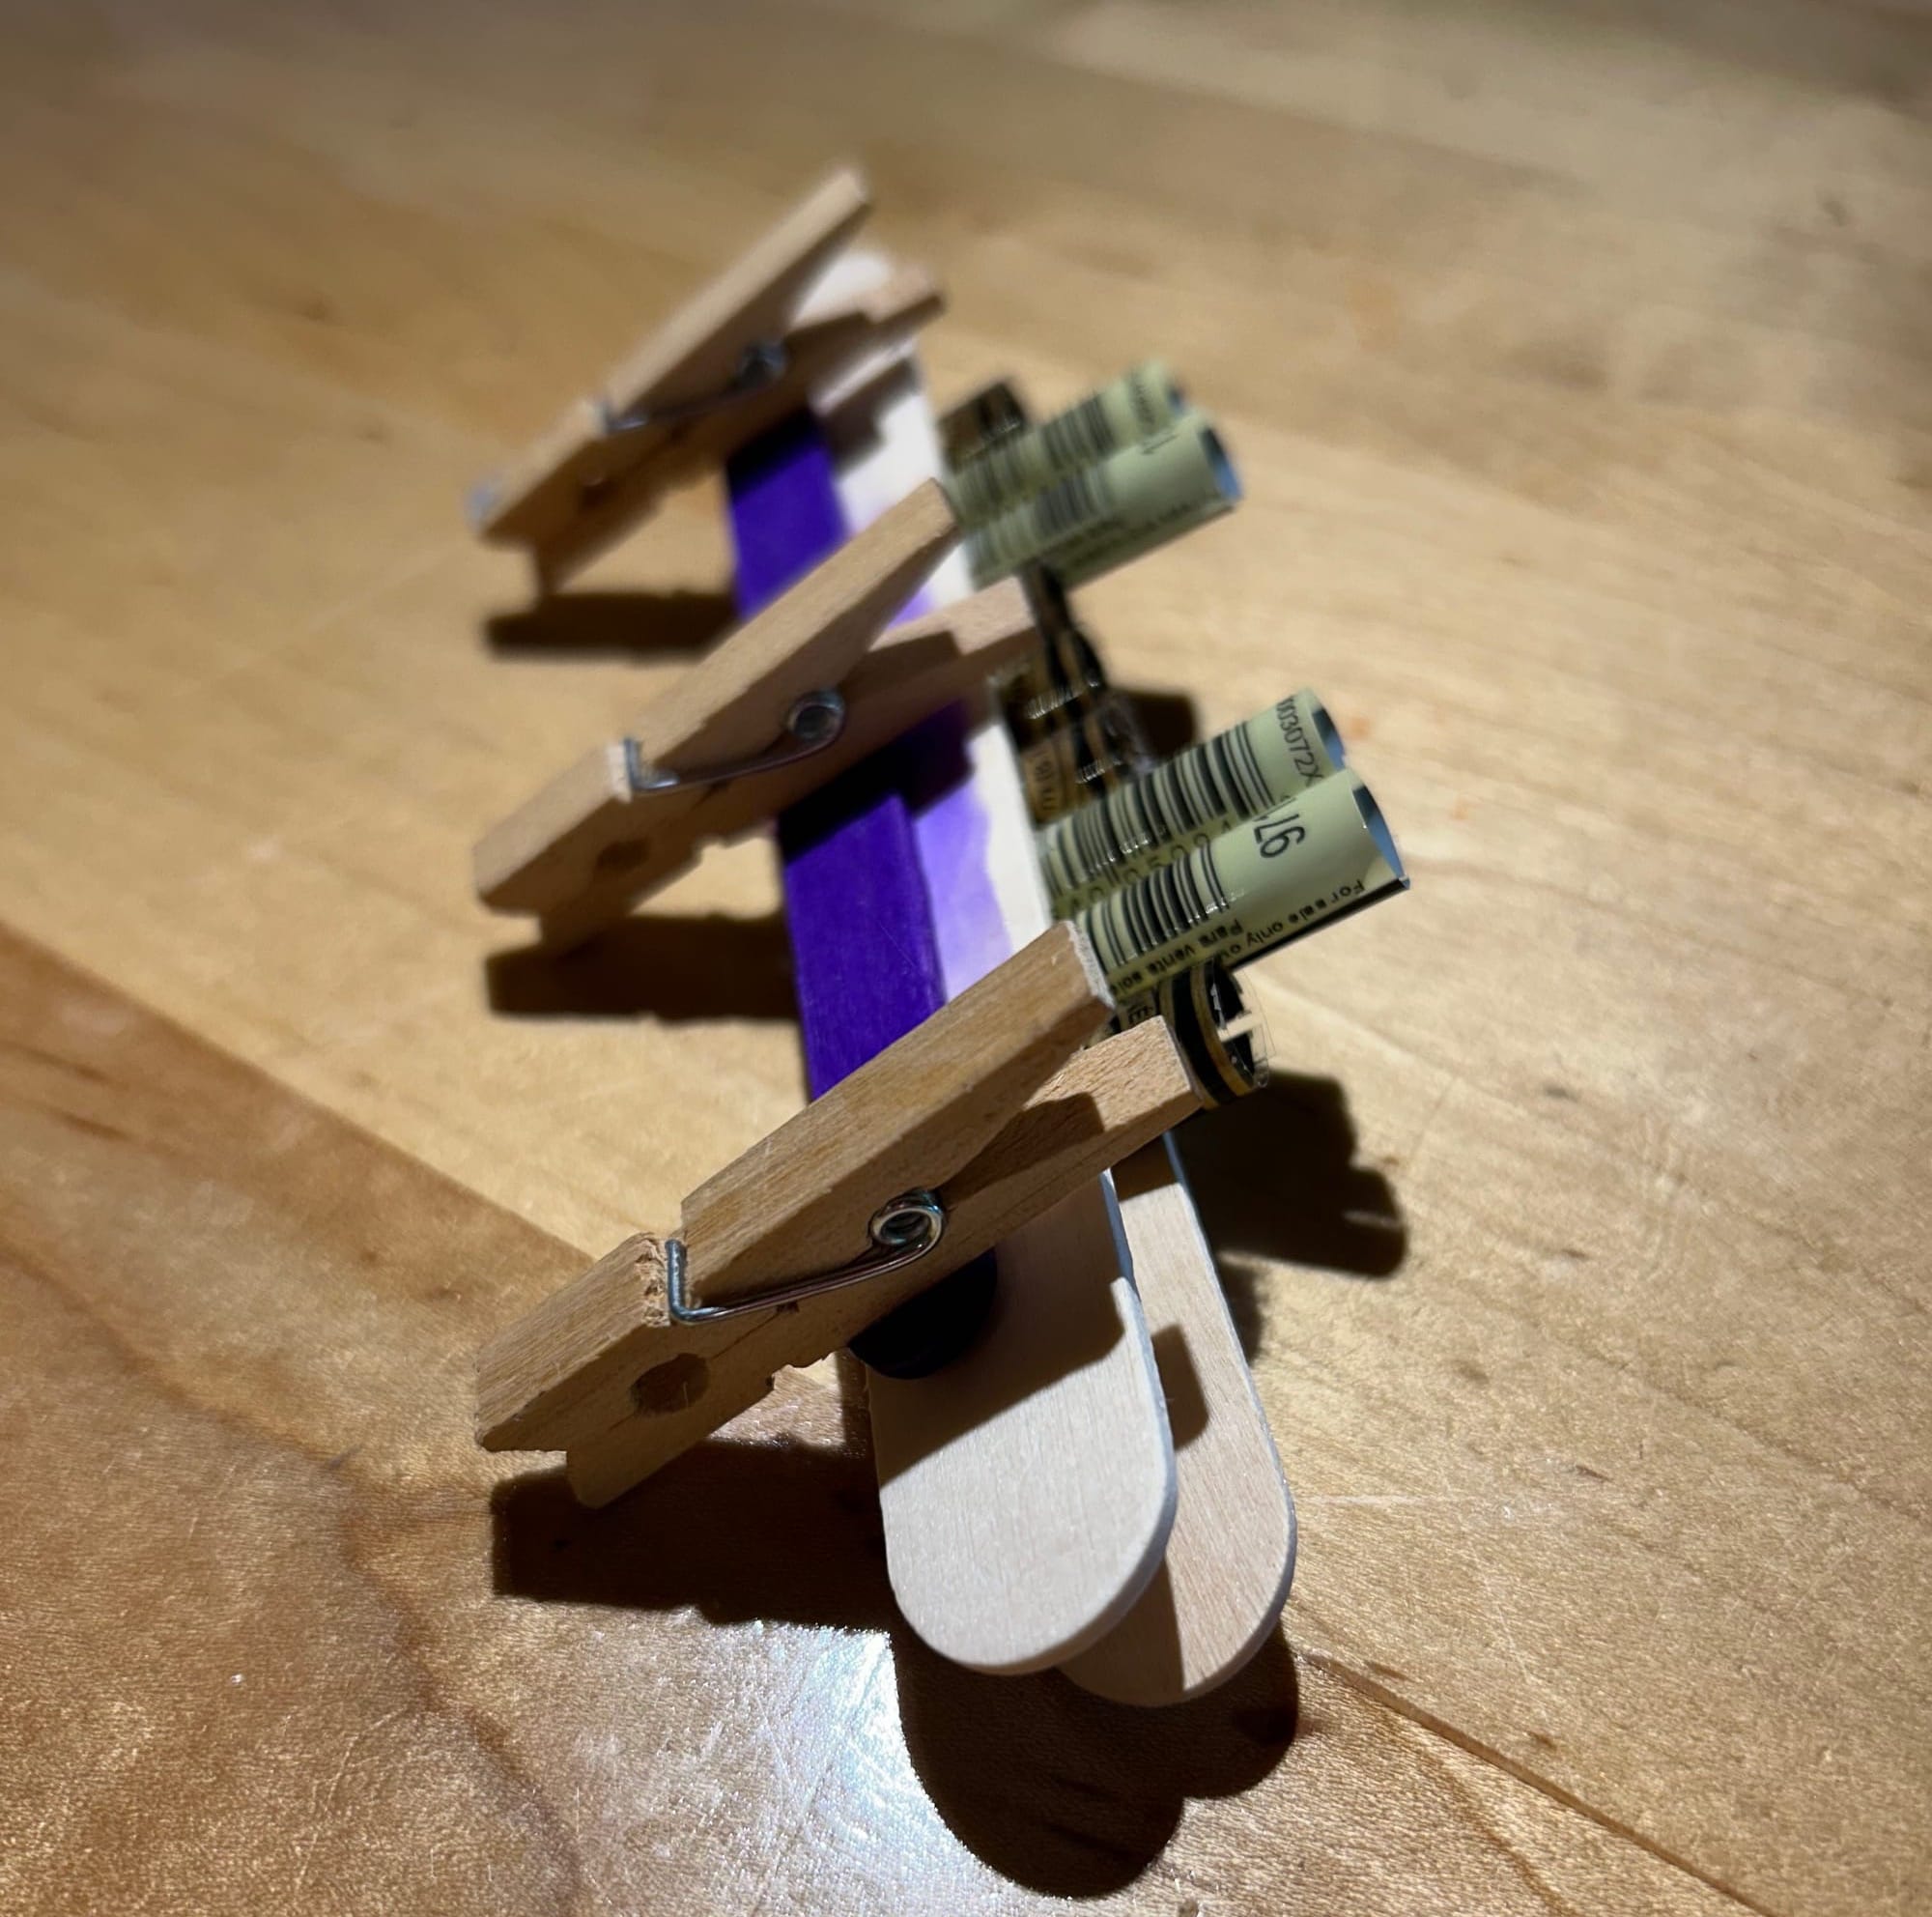
With equal imagination but a little more dexterity and practice, another child created a more elaborate airplane. Embroidery thread wrappers became turbos protruding between pairs of wings. Mini-clothespins became the wheels (and somehow also engines—I couldn’t follow the details.)
Vehicles might need a garage or hangar, or little toys might be in need of a dwelling place. One child created a home for a tiny stuffy from an empty Kleenex box, a popsicle stick, a bit of scissors magic, and some glue.
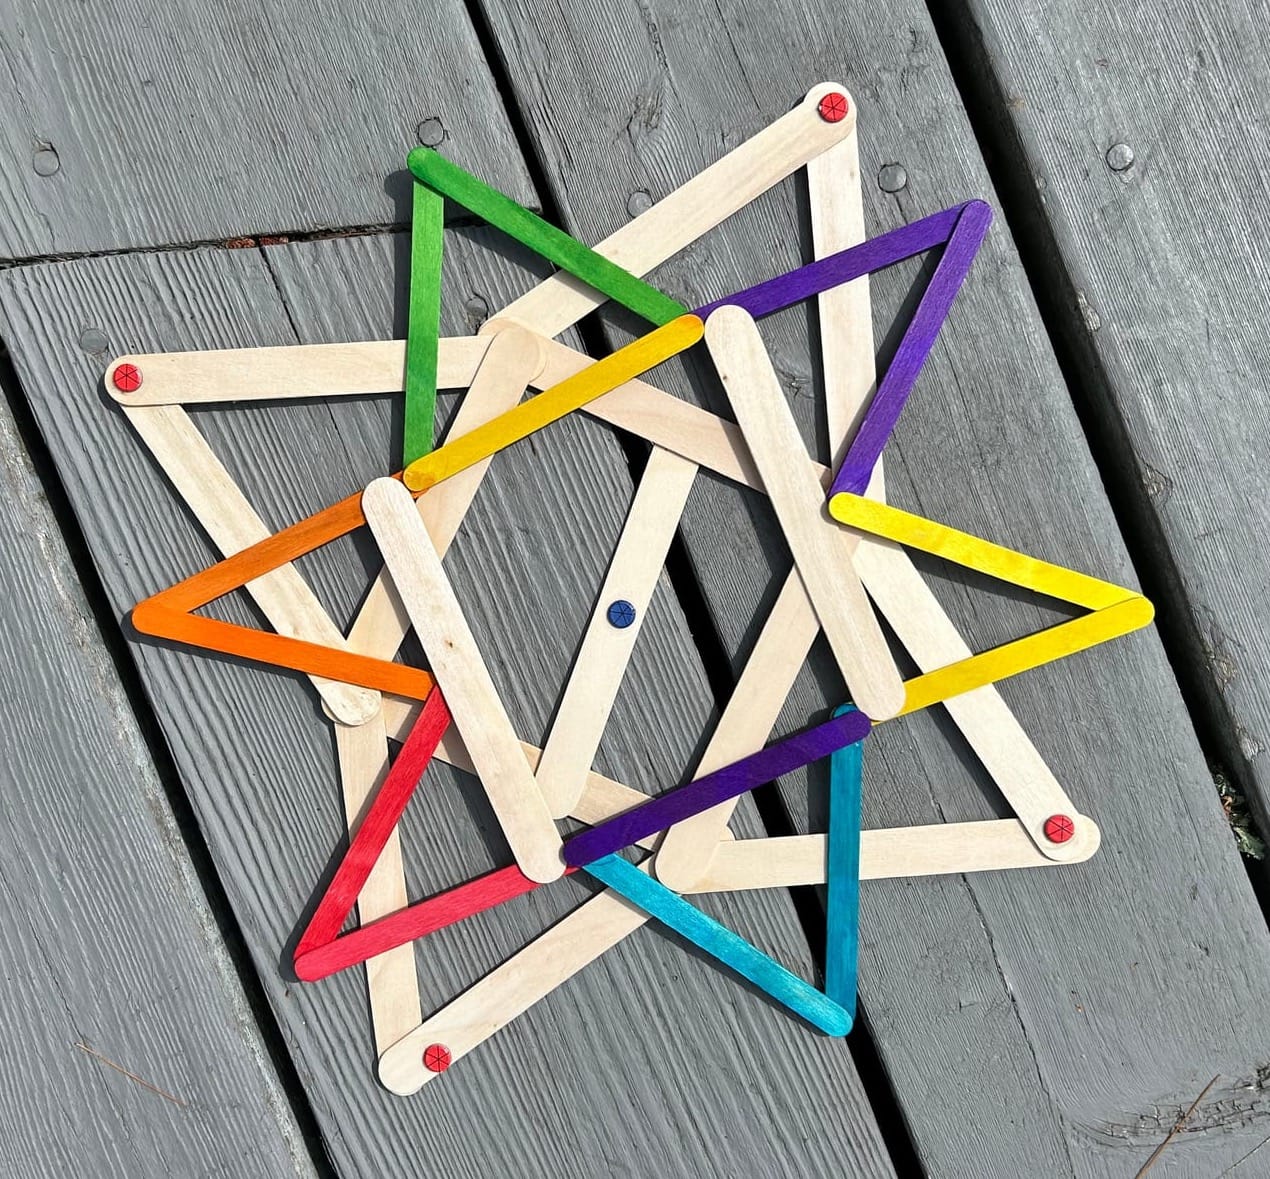
One of the great things about clothespins is that they serve dual purposes: design elements, as in the airplanes; and clamps, for holding glued pieces together as they dried. One grandson and I separately created popsicle stick “designs”—his a four-pointed star with dots, mine a six-pointed star with colored popsicle sticks. Then, using clothespin clamps, we merged the creations, just for fun.
And in fact, “just for fun” was the theme behind most of the creations (although I’m told that the mini-clothespin holding the embroidery thread in the photo below is a fishing pole).
We did not try any elaborate crafting with our popsicle sticks. But with older grandkids, you could get more ambitious—maybe build a castle or house or ship (just be sure to check the supply list, because you may need some extra equipment).
Healthy snack, too!
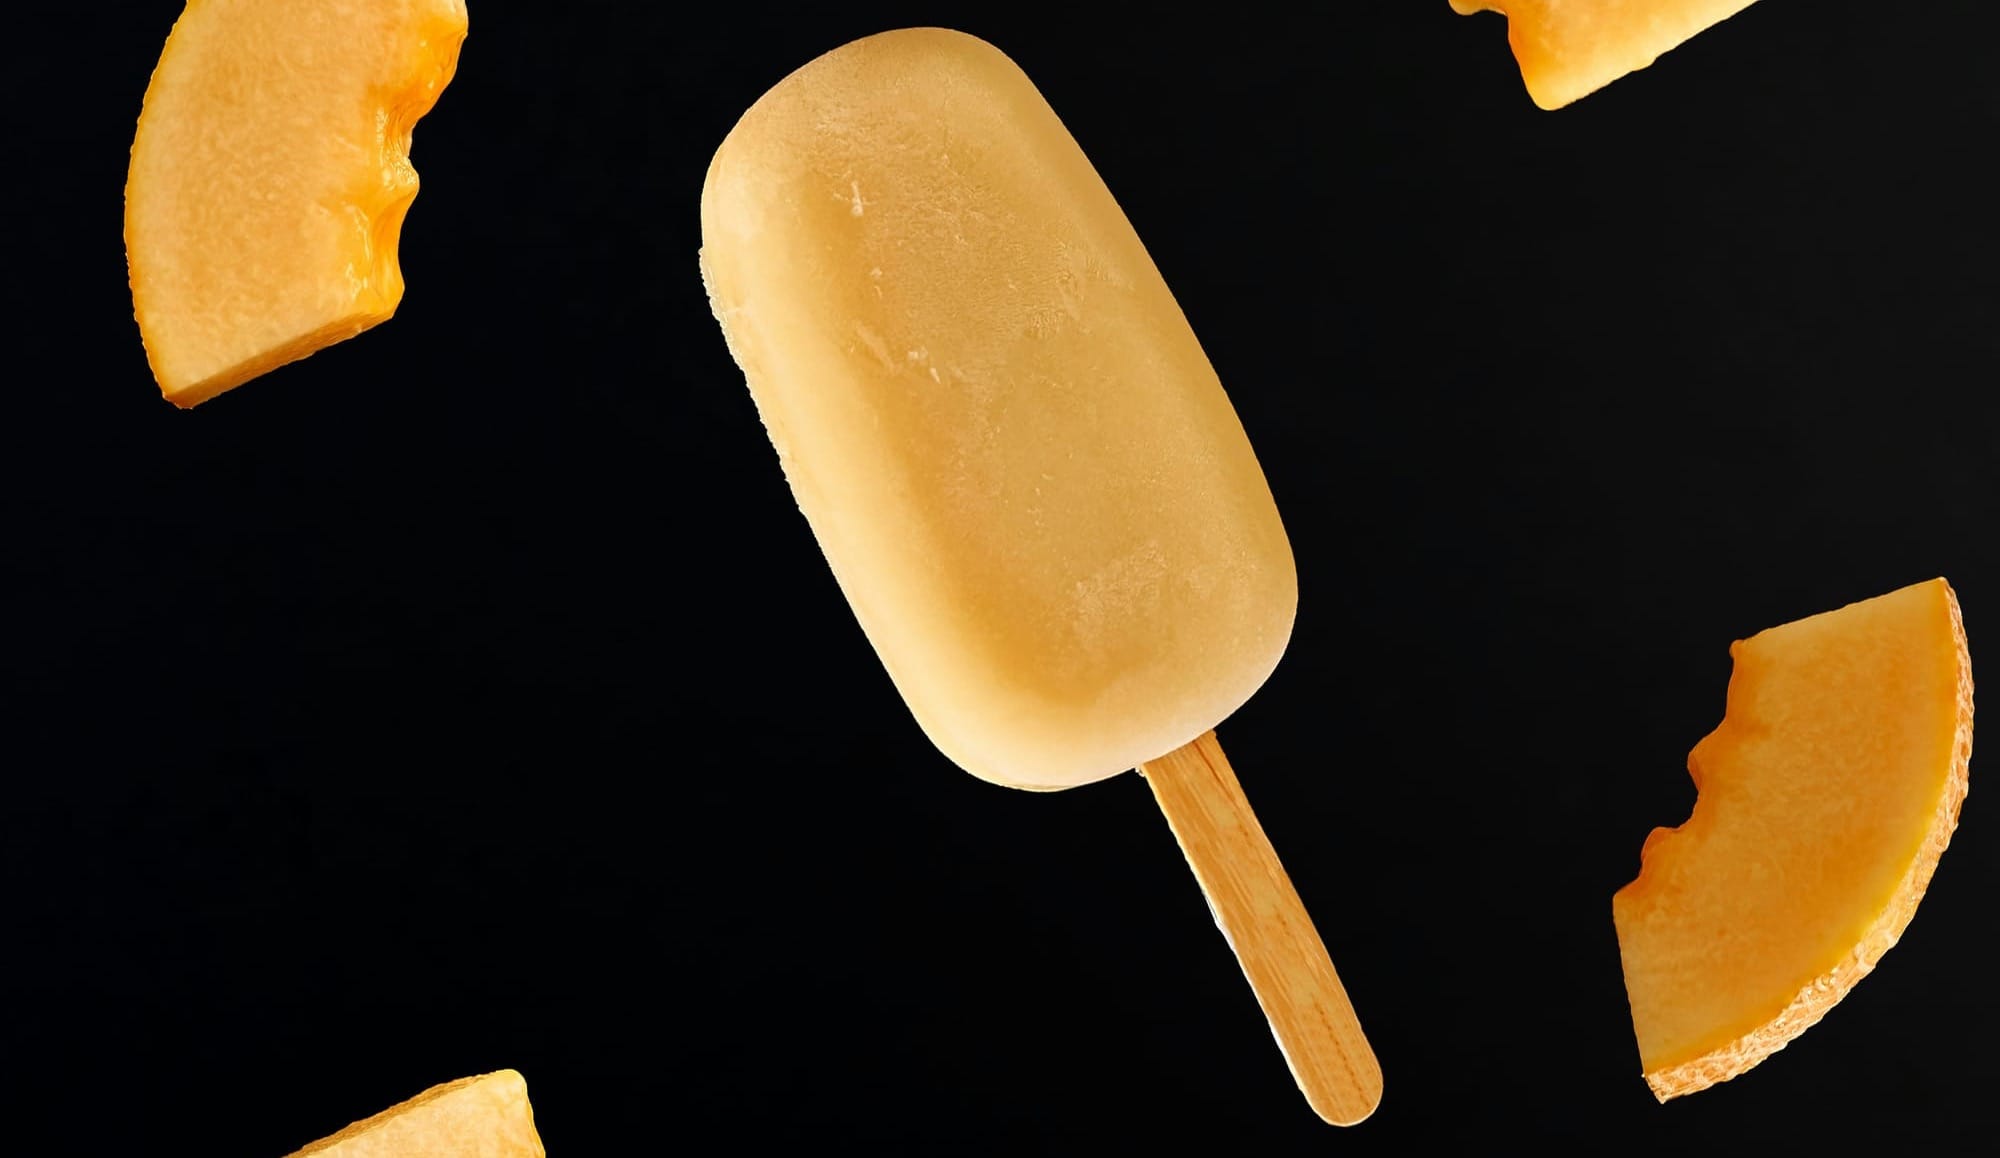
Oh! And if working with all those popsicle sticks gets someone thinking about eating a Popsicle, that's a DIY, too. You’ve got the popsicle sticks, so that’s covered. Here are some ideas for DIY popsicle molds. And here is the "popsicle" recipe I used to use for our kids—actually a riff on Dreamsicles:
• 1 part yogurt (vegan yogurt would work, I think—haven't tested it)
• 1 part orange juice from concentrate, diluted 1:1 (1 can concentrate, one can juice).
Blend yogurt and partially diluted juice well. Pour the mixture into popsicle molds (DIY or commercial). With the DIY molds, insert your popsicle sticks when the mixture is partly frozen. Freeze until fully solid.
I hope these ideas give you the inspiration to get started! However you use the materials, you get the joy of creating together and seeing and hearing about the children’s inspirations as you work—not to mention having something worthwhile to hold the grandkids’ attention indoors on an inclement day. And maybe a good snack, too.
PS. Other readers and I would love to see your ideas for popsicle-stick projects (or recipes!) you and your grandchildren or children have enjoyed in the comments! So many possibilities.